
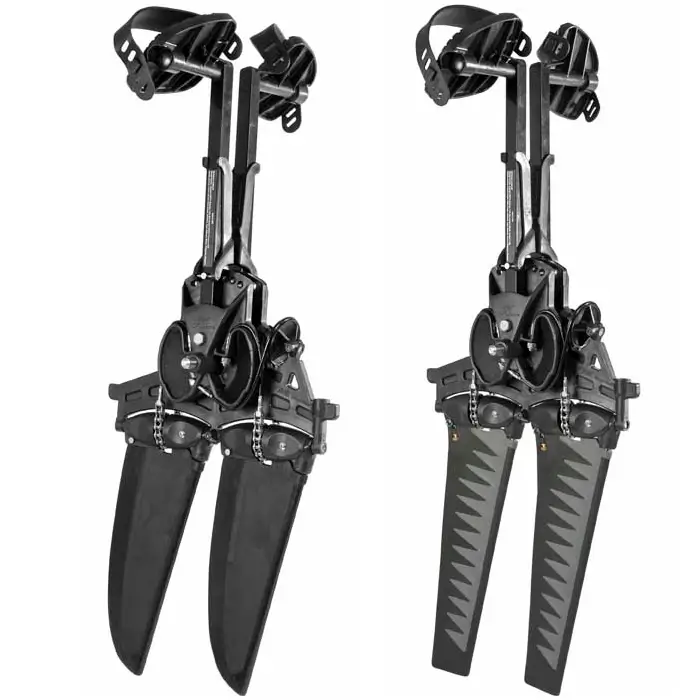
Maintaining your Hobie V1 / V2 / GT Classic Miragedrive is a pretty simple affair and not much effort is involved in keeping it performing smoothly and reliably. The only tools you’re likely to need to perform most basic maintenance procedures is a 7/16th spanner (or long-nose pliers) and a 1/8th hex key.

Some people seem to think that because the drive uses marine grade stainless steel, that no measures need to be taken to ensure that no corrosion appears. While the drives are incredibly resilient, they are not rust-proof. Stainless steel is exactly as it’s name suggests – it stains ‘less’. If it was completely rust-proof it would be called ‘rustproof steel’ instead. So follow the steps below to make sure your drive remains free of rust and performs optimally.

Rinsing: The most important thing to remember is that the drive should be rinsed thoroughly with fresh water after use in salt water. In the event that sand has collected in and around the chains and sprockets it’s good advise to use a fairly high pressure stream of water to dislodge and remove it.
Lubrication: It is not essential for you to lubricate the Miragedrive before or after each use though it is a good idea to do this from time to time. The best lubricants we have found to use are Inox + and Hobie Multilube). These are all excellent at repelling corrosion and promoting smooth operation.
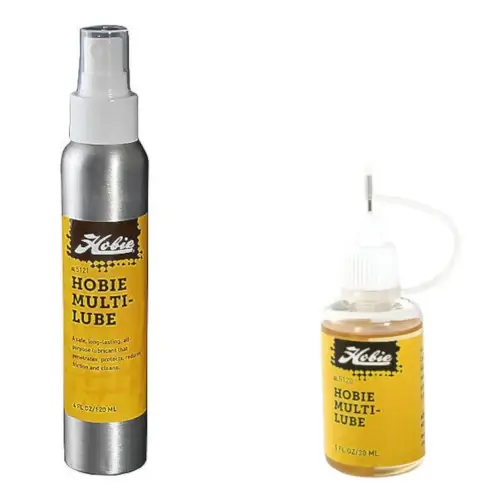
Whichever lubrication formula you decide to use, when spraying down your drive, concentrate on the following components as a priority:
Inspection: Whenever you take the time to lubricate your Miragedrive is an ideal time to quickly inspect it. Give it a quick look-over to make sure everything looks right. The most important component to focus on are the chains and idler cable. Specifically, you should be making sure that their tension is about right, and not becoming loose. If the chains are becoming loose there is a potential for failure in the field, most typically resulting in the chain links skipping sprocket teeth during operation. Not only will this inadvertently effect performance, there is a possibility that sprocket teeth may get damaged.
If you notice that one or both chains feel a little loose it is simple enough to tighten them. The best tool for this task is a 7/16 spanner, but you could use pliers if you had to.

Chain and cable tension is achieved with the 1/4 inch nylock nuts at their ends. It might take a turn or two on each nut at both ends of the cables to achieve the desired tension.
Don’t over-tighten the chains or cables – they do not need to be as tight as violin strings. You will know that they are too tight if they are completely taught and or you can feel resistance from tension while moving the pedals back and forth with your arms.
In the event that chains become loose again from after one or two uses post tightening, the chances are high that the nylon has started to wear out on the 1/4″ nylock nut that secures the tension. If this is the case you should consider replacing the offending nuts.

It’s also a good idea to check the sprocket shaft set screw from time to time as well (consider doing this once a year or so). Use a 1/8th sized hex key to check this and adjust if required. You just want to make sure the set screw (otherwise known as a grub screw isn’t working itself loose. Resist the temptation to over-tighten this screw – you just want it thumb tight. If over-tightened you may crack the part of the spine that it screws into. Consider adding a small amount of Loctite the set screw thread as you screw it into place – that should help eliminate any possibility of it working loose.

If you look closely at the idler cable pulley you will notice that it is also held in place on it’s shaft with the same size set screw. Although not as critical as the sprocket shaft set screw, it’s probably a good idea to take a quick look at that every now and again as well. Be sure not to over-tighten it. You could use Loctite here also.
* Note Version 1 drives also use set screws to secure fin masts to the sprockets. These are more prone to becoming loose than the sprocket and idler pulley shafts and should be checked more frequently.
Suggested Miragedrive spare parts
Hobie’s Miragedrive is made out of top quality components and none of them are prone to breakage or premature wear and tear. All steel components are made from marine grade stainless and the drums and sprockets are made from Delrin (a German made surrogate for metal). It is not really essential to carry spare parts on day trips (though doing so isn’t a bad idea) but if you were going on an extended holiday, expedition or kayak camping trip, it is highly advisable to carry a few spares, just in case.
The following is a list of parts that SLH recommends to be carried as spares for those who like to be prepared:
Further reading: