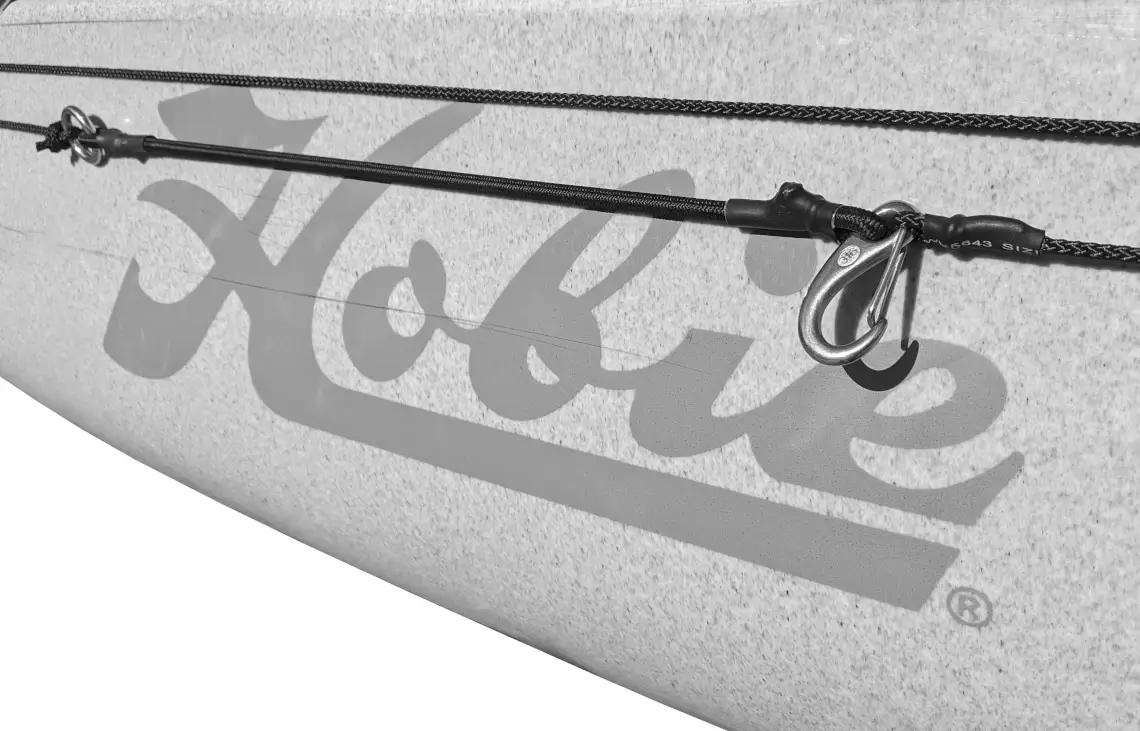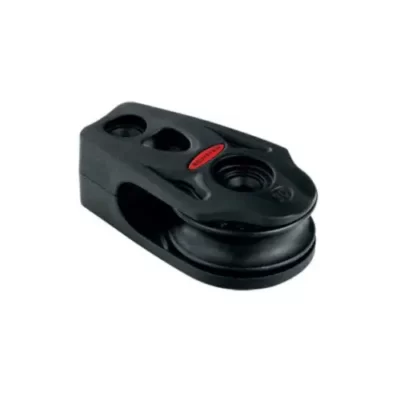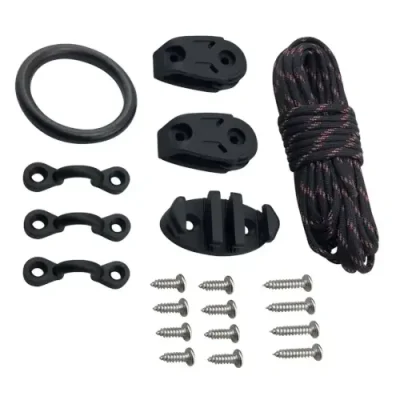
Following on from the success of our half-length Custom Compass/Outback Anchor Trolley Kit, we’ve packed a full-length kit that will accommodate just about any kayak and have included enough hardware to facilitate various install methods. This particular kit is closer to the Hobie Anchor Trolley Kits in design, but we use 1 x stainless steel snap clip and 1 x stainless ring on the bungee assembly, as opposed to 2 rings. This adds a little flexibility, allowing the user to snap the line securely into the clip without having to feed a tag end through it. This kit also uses very high quality pulley blocks.
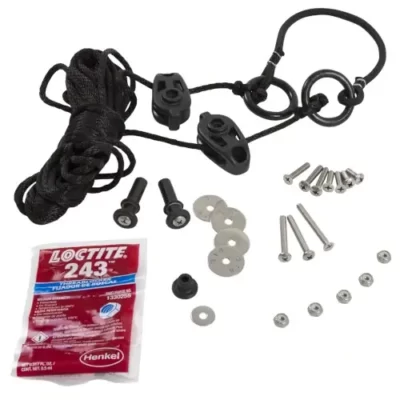
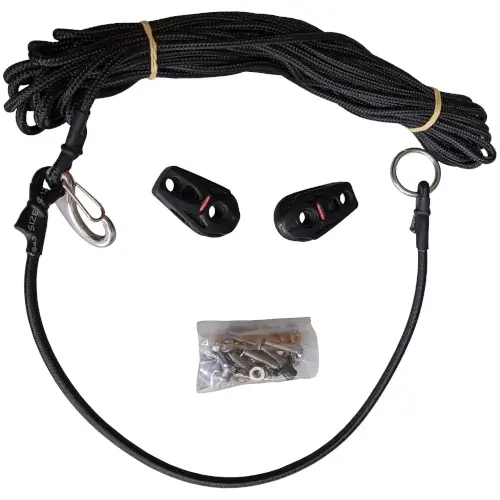
This kit includes the following components:
Our anchor trolley kits are supplied with stainless steel fitting hardware that will cover numerous models or installation techniques. For this reason our kits come with more fitting hardware than you’re likely to need. We include hardware that allow you to install blocks and eyelet posts with nuts, washers & bolts or self-tapping screws.
The supplied bolts are compatible with the brass threaded install points for a no-drill-required installation on Hobie Pro Angler model kayaks. For any other model use the included self-tapping screws, or if you prefer a thru-bolt installation you can use the nuts,bolts and washers if you have internal access in the hull.
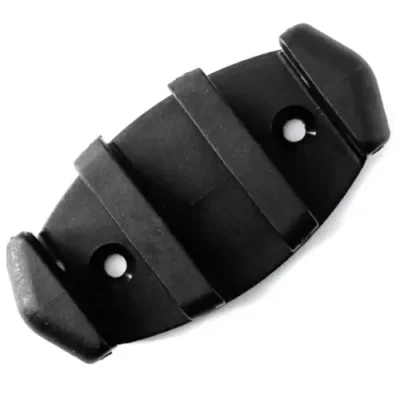
Install Pulley Blocks – Pro Angler Models: Use the included 1” 10-32 bolts to fit the Ronstan cheek blocks to the pre-existing brass threads found at the bow and stern of your kayak.
Important note: Be careful when installing the fitting screws to avoid binding the thread. This is best done by tightening up each screw incrementally- get each screw started in each thread and then secure them by doing one or two full turns on one and then doing the same on the other. Continue doing this this until both screws are fully seated.
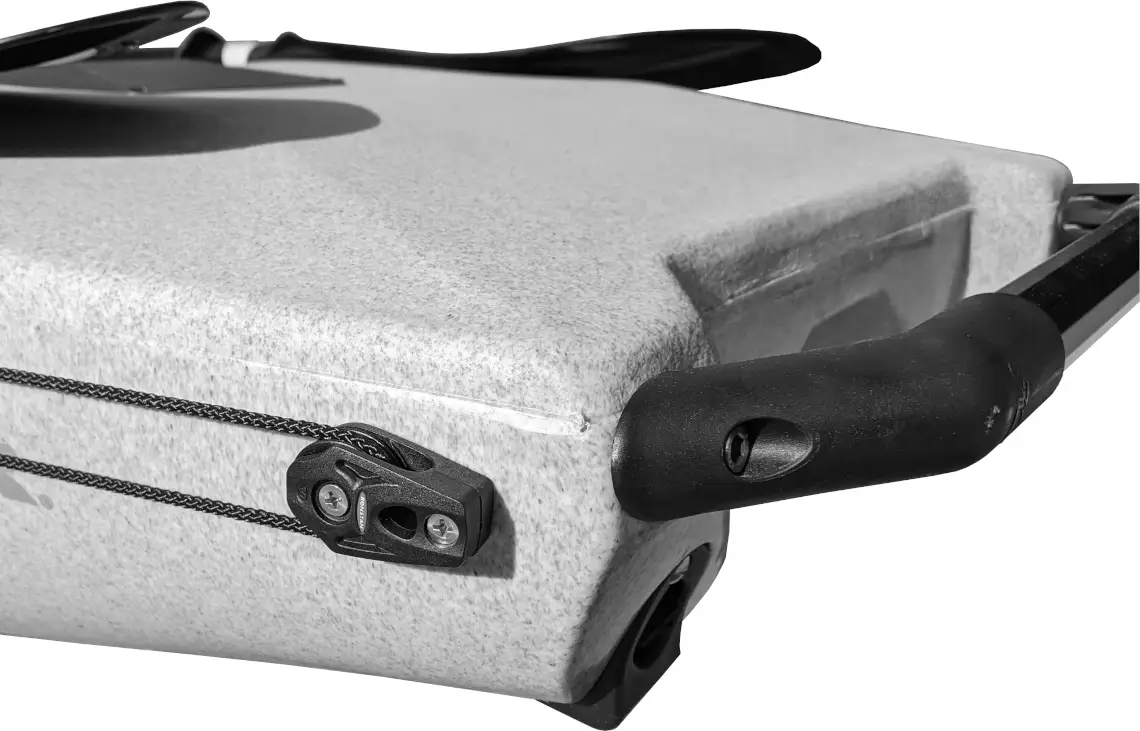
Install Pulley Blocks – All Other Models: The Ronstan blocks can be installed to the hull with the included self-tapping screws. If you have internal access to the hull you can also install the blocks by thru bolting using the 1” 10-32 bolts, washers and nuts. The mounting holes need to be 30mm apart.
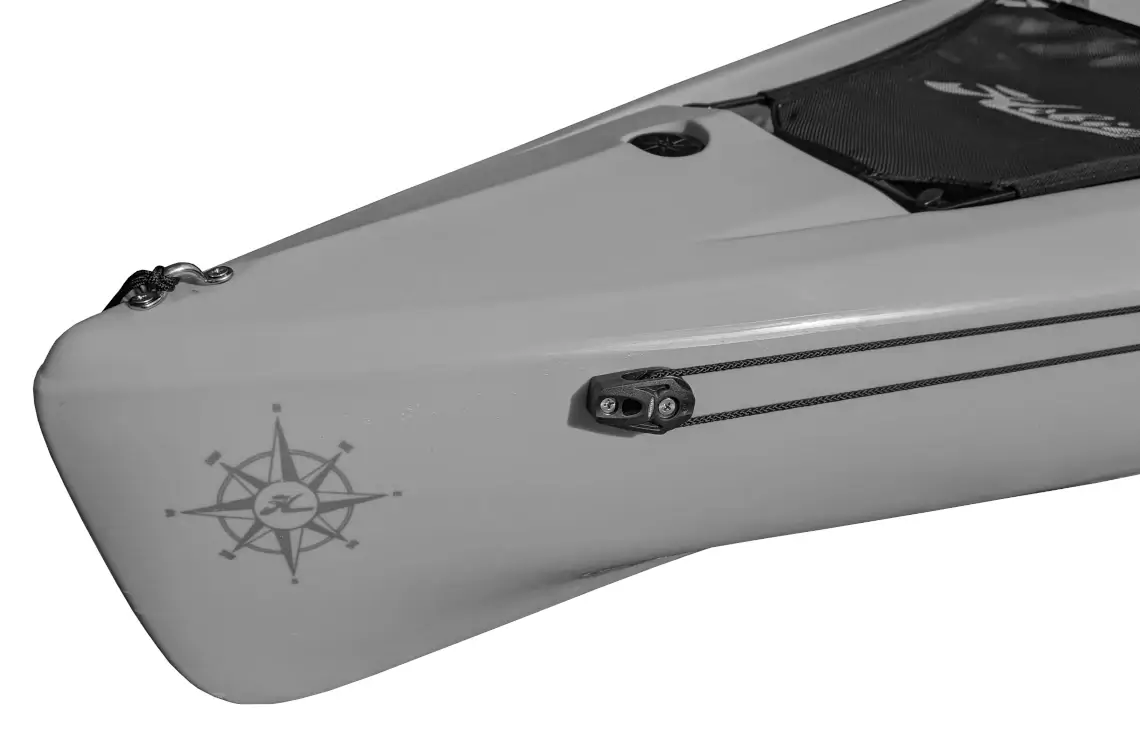
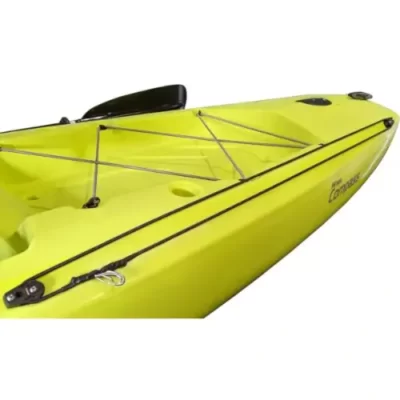
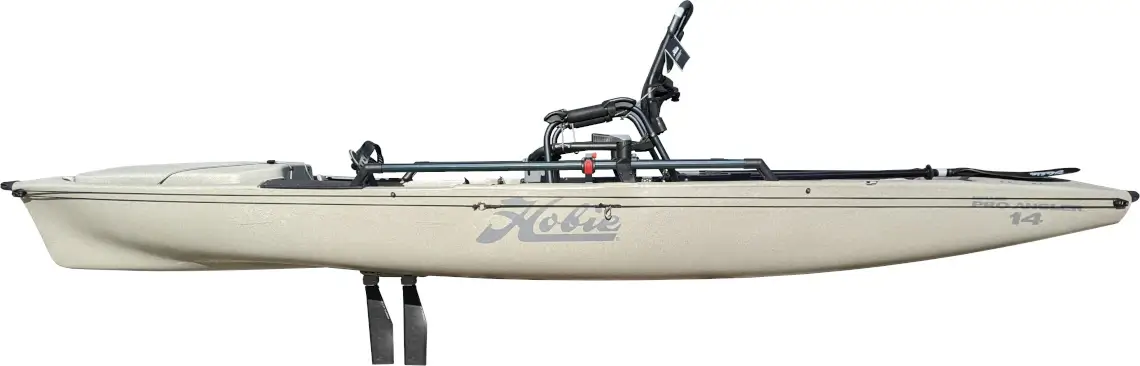
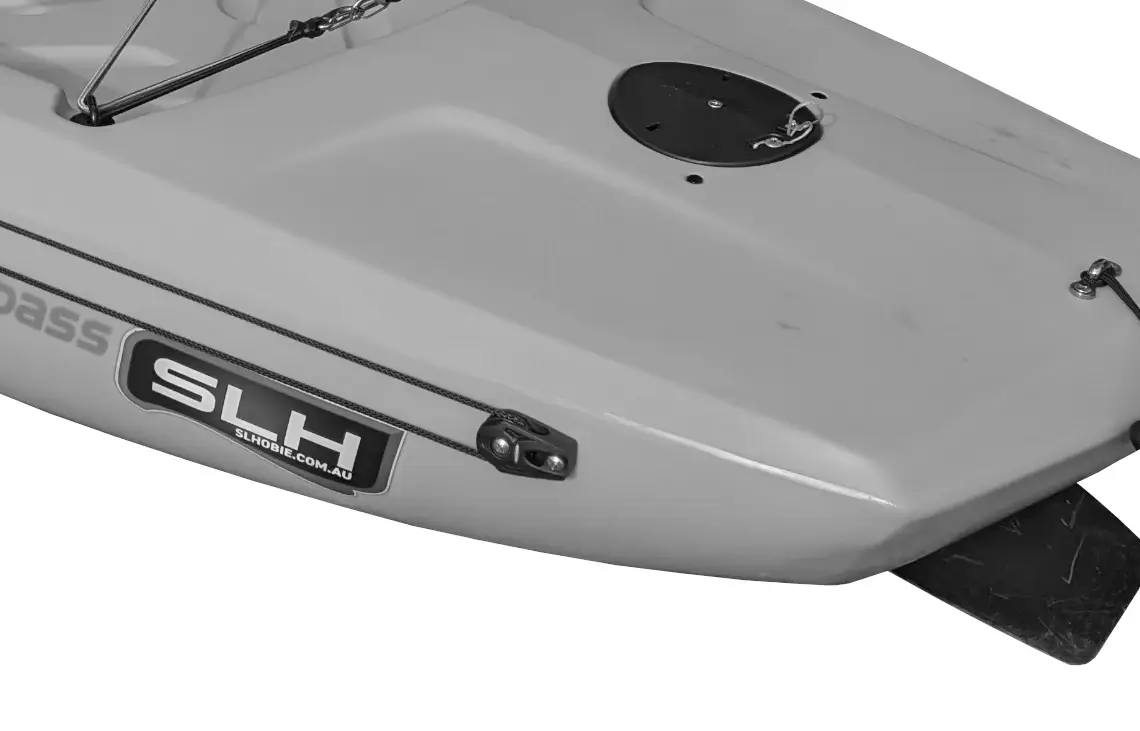
Blocks should be installed above the waterline of your hull. Position the front block at the bow anywhere from 6 – 12” from the tip of the bow and the rear block anywhere from 6 – 12” from the stern. Observe the pictured examples as a guide
Install Eyelet Posts – Pro Angler Models: Hobie Pro Angler model kayaks have pre-existing brass threads on the side of the hull, just below the gunwale. There are ideal install points for the eyelet posts. Use the included ¾” 10-32 screws to install these.
Install Eyelet Posts – All Other Models:
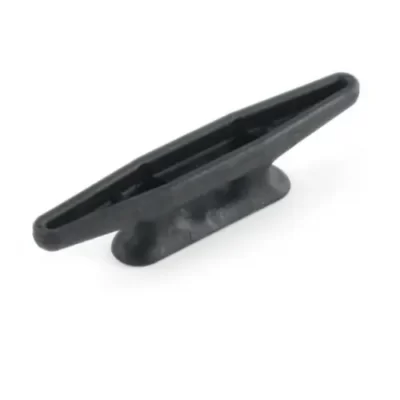
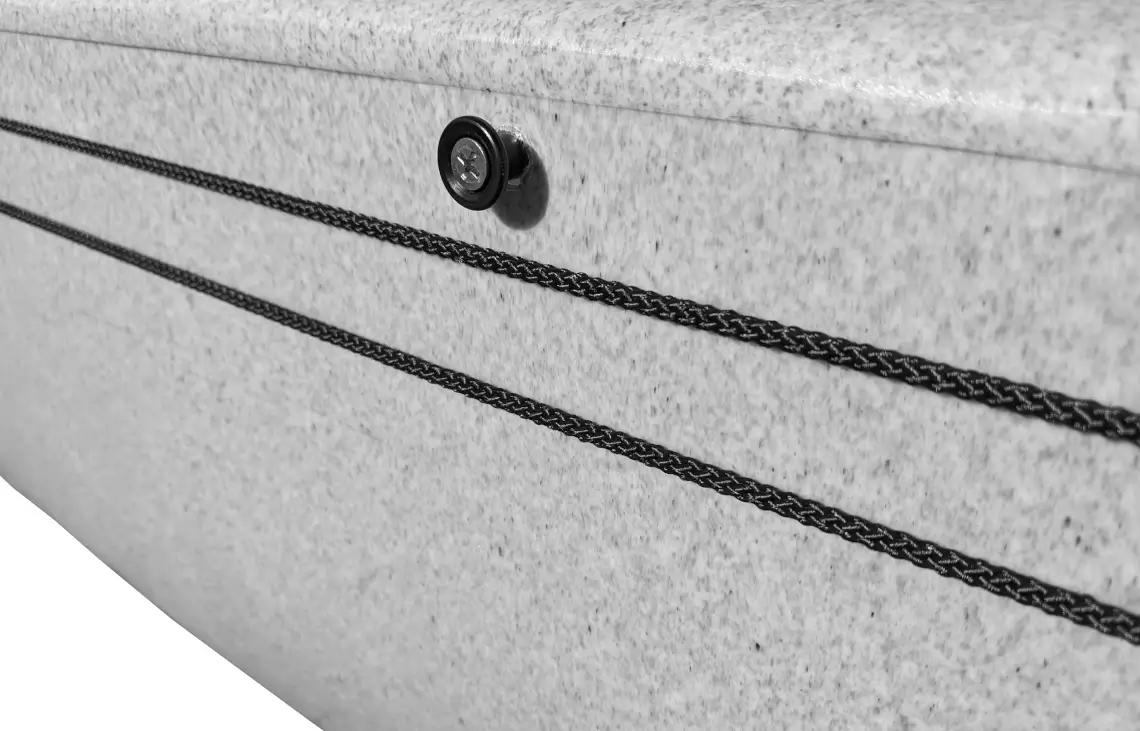
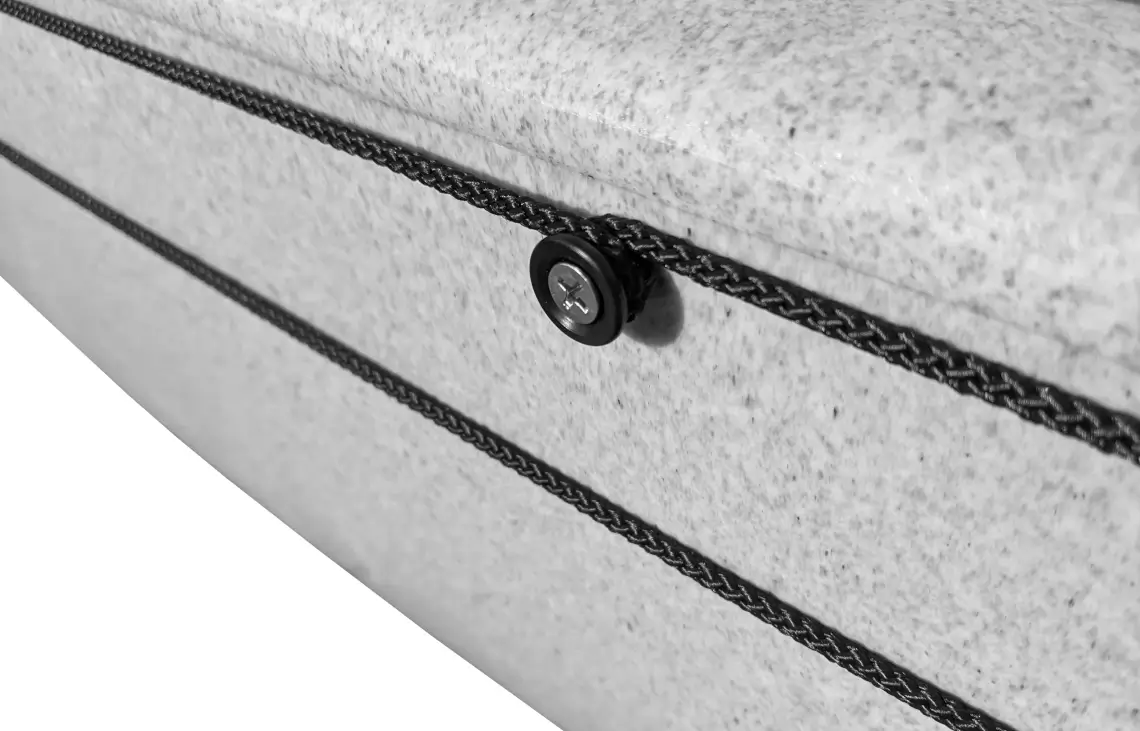
The kit includes a couple of black eyelet posts which should be installed to the mid section of the hull, just below the gunwale and above the waterline. If you have internal hull access use the included ¾” 10-32 bolts, washers and nuts to install these. If not use the self-tapping screws.
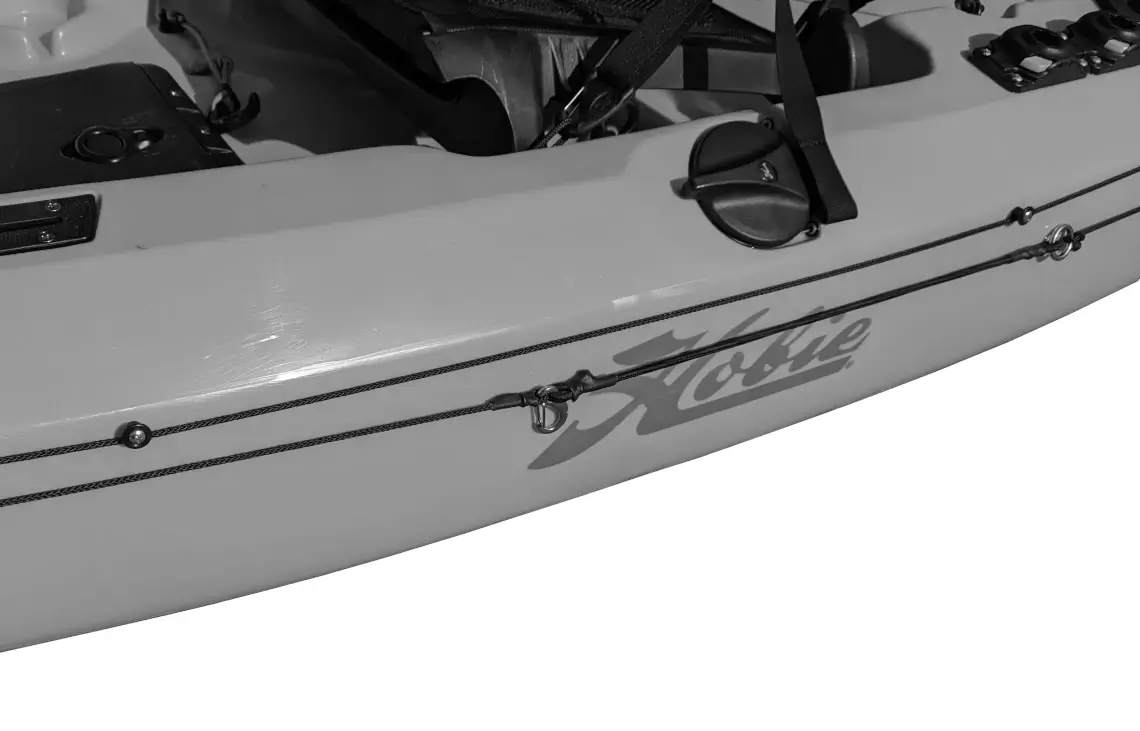
Eyelet posts serve to keep the anchor trolley line from flicking up above the gunwale. They can also be used to lock the anchor line in position by wrapping the line around the eyelet post (see example below)
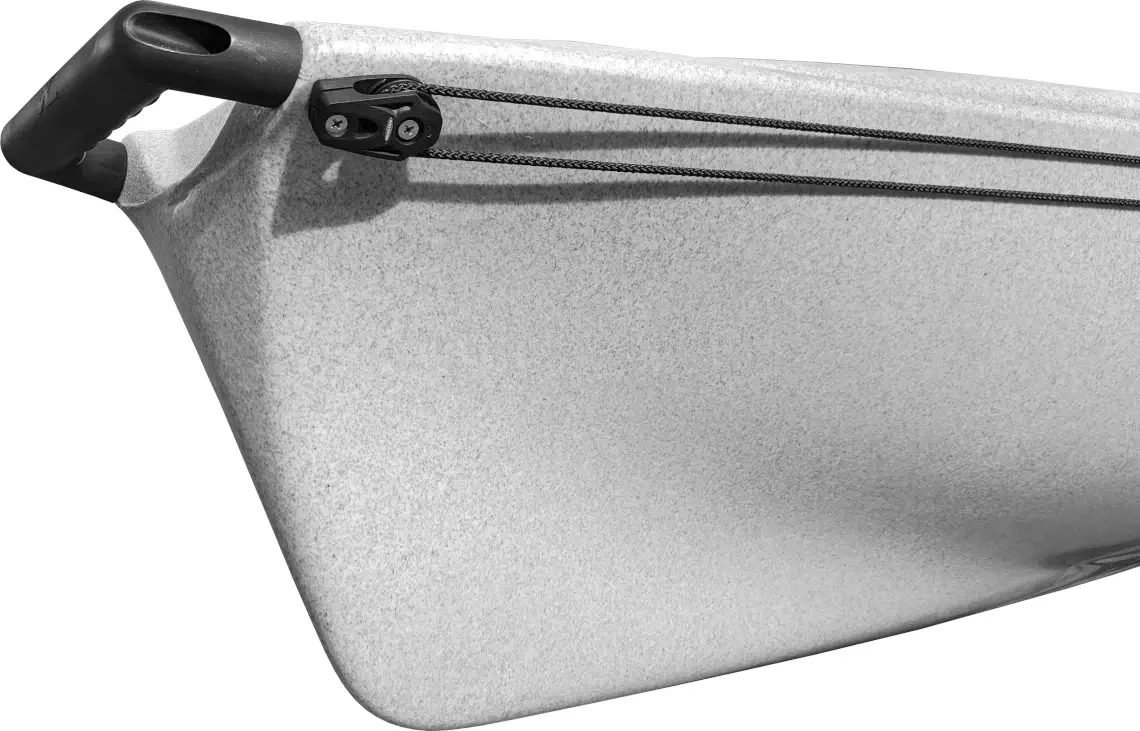
Install Anchor Trolley Line: With the blocks and eyelet posts installed you are now ready to thread the pre-rigged anchor line. The ring, bungee and snap clip assembly is intended to run along the underside of the blocks, so feed the tag end through the front block from underneath, then run the line to the rear block and feed it through from above. Then feed the tag end through the ring, pull the line tight and then tie it off with your favourite compact knot. In the example image below we’ve used a simple uni knot
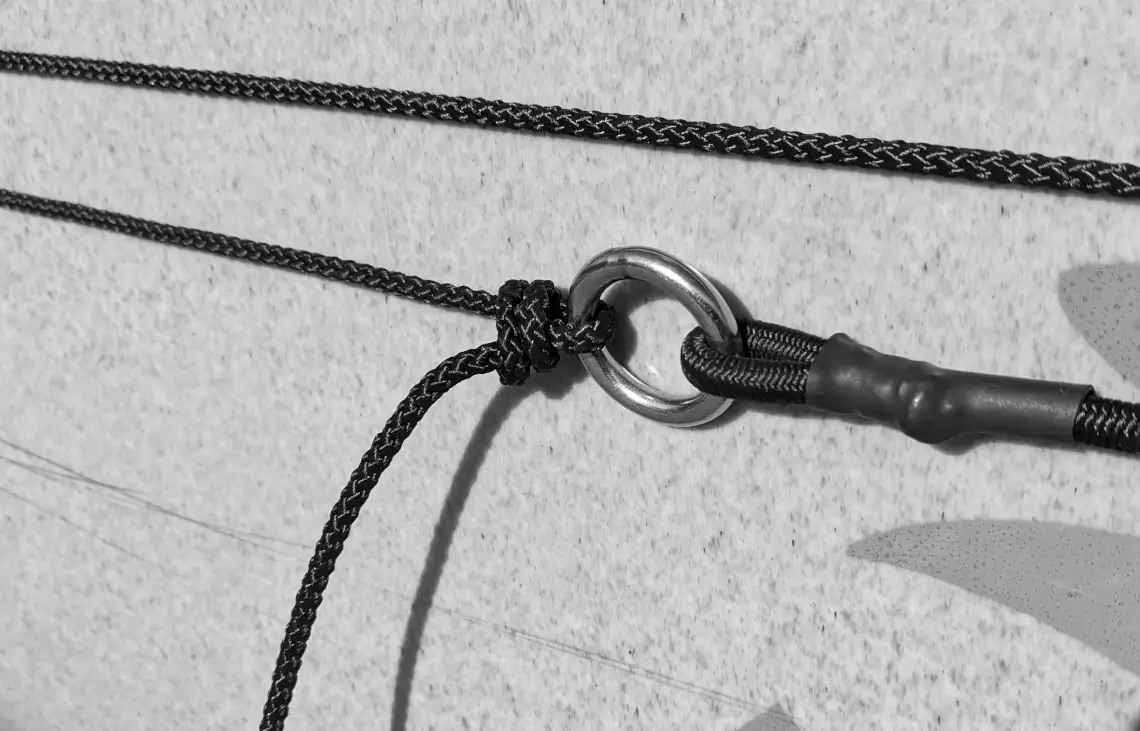
Ideally you want to set the tension so that the line is reasonably taught, hugging the side of the kayak, not sagging and loose. Cut off any excess cord and cauterize it with a hot knife or cigarette lighter. Once you’re done it should look something like this: